
Download a printable copy of this recipe here.
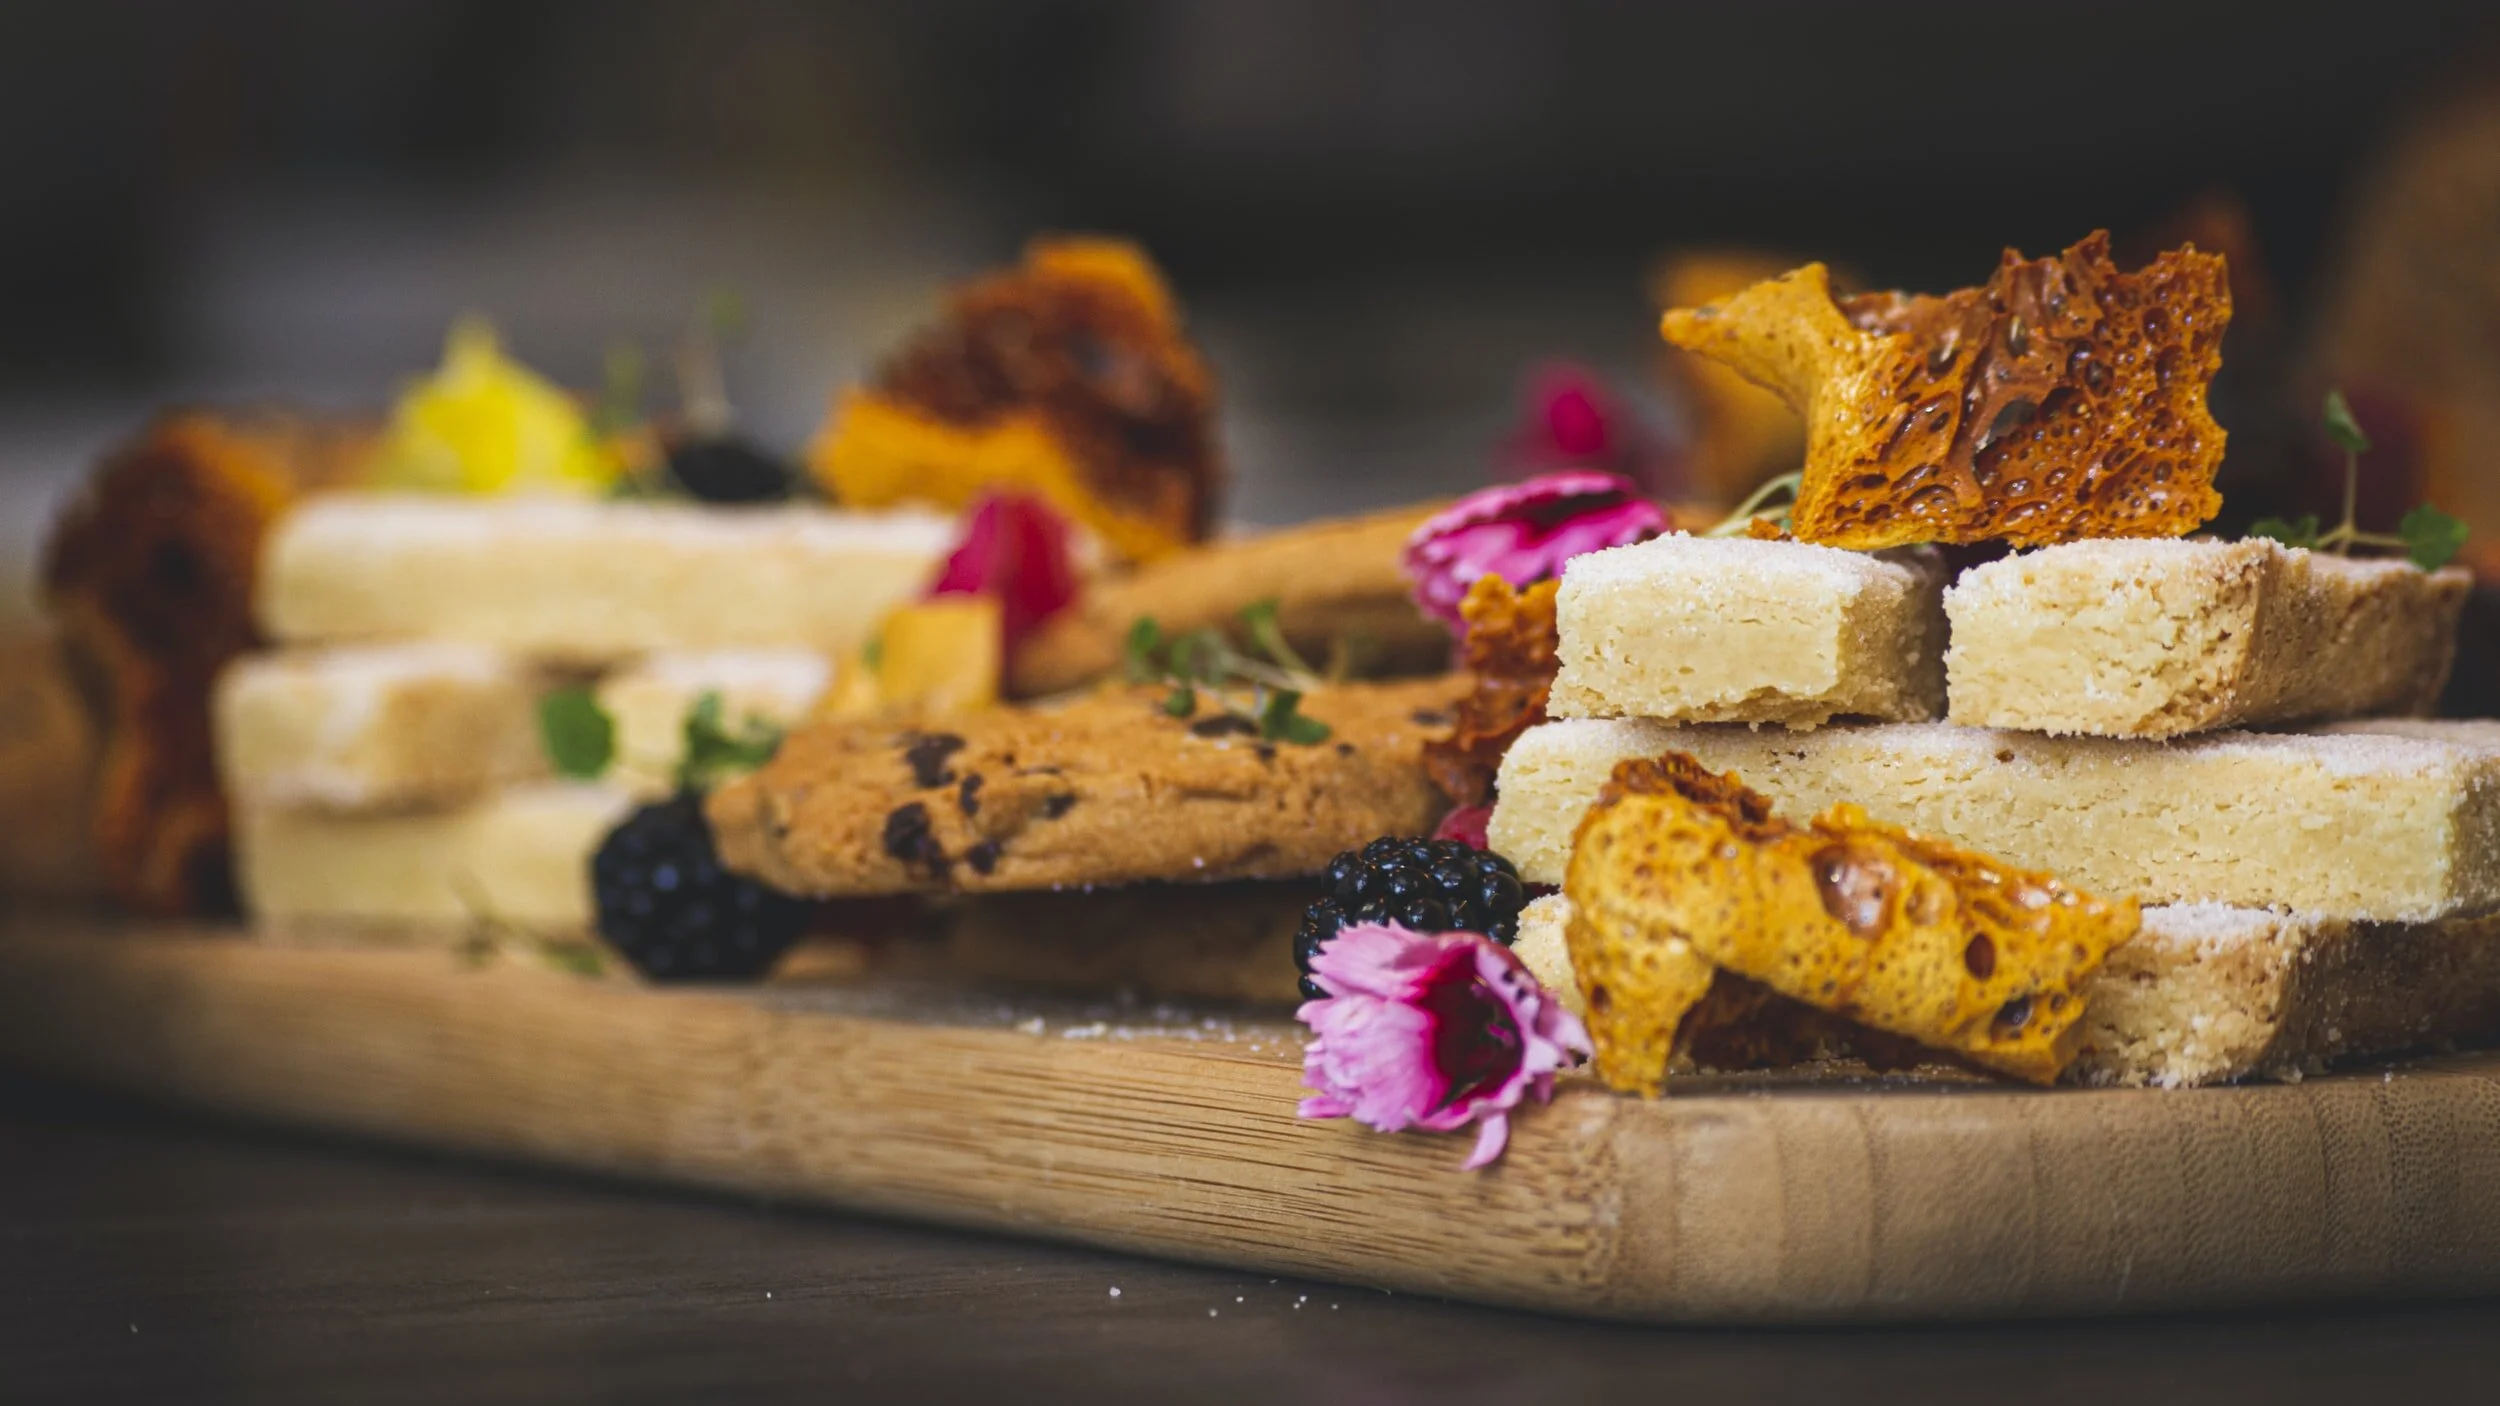
Shortbread is traditionally formed into one of three shapes: one large circle divided into segments (“Petticoat Tails”); individual round biscuits (“Shortbread Rounds”); or a thick rectangular slab cut into “fingers.” Different recipes and regional variations for shortbread show all sorts of additions. But a classic shortbread has flour, fat, and sugar (3:2:1). The following true classic was passed down from my grandma. Her secrets were rice flour and kneading. Yes, nearly everyone tells you to handle shortbread dough carefully – well, our Gran kneaded the dough for at least 5 minutes, often more, because she wanted it melt-in-the-mouth smooth!
Notes
This recipe uses unbleached flour. Using bleached flour can result in a bitter taste.
Caster sugar is very fine and hard to find. Just put your white granulated sugar in a blender and whizz till it is fine. Do not substitute icing/confectioner’s/powdered sugar.
Butter must be soft; leave it out overnight for use the next day. Do not microwave to soften.
Kneading – the best way to keep the dough ball compact while kneading is to press with the heels of your hands(the rounded bit of your palm near your wrist) and push the dough away from you. Then fold the part furthest away back on top, turn the dough ball to the right, and repeat the push, fold back and turn. Keep kneading the dough in this quarter-circle turn.
Oven temperatures vary, they can be 50 degrees higher or lower than what the oven number shows, which can make baking a hit or miss affair. Not for cooking shortbread – it goes back till it is perfect!
Ingredients
6 oz. plain unbleached flour
2 oz. caster sugar / 2 oz. white granulated sugar blended till very fine
2 oz. rice flour
5 oz. salted extra creamy butter
Method
Preheat oven to 275°Fahrenheit.
Cream sugar and butter together until very pale.
Add half the flour and mix well to form a dough ball.
Sprinkle remaining flour onto the clean countertop.
Put the dough ball on flour and knead well for 5 to 7 minutes.
If all the flour has been absorbed and the dough is still very sticky and leaving bits on the counter, add more flour, ¼ cup at a time. Continue to knead till the dough is a smooth ball, very slightly sticky.
Shape
Petticoat Tails: Roll dough into a circle and center it on a baking sheet/pat dough into a pie pan. For thin Petticoat Tails, it should be about ¼ inch thick, for regular triangles about ½ inch thick. With the dough on a baking sheet, you can flute the edges, or press any pattern round the edge. You can also carefully cut it into triangles now if desired. A thick dough needs to be pricked with a fork to help keep its shape. A thin dough doesn’t need it but shortbread traditionally was pricked so feel free to do what you wish!
Biscuits: Roll dough flat, about ¼ inch thick. Use any shape cutter (stars, trees for Christmas, rabbit, egg for Easter, etc.) then pile the scraps on top of each other, roll out again, and cut. Repeat till the dough is used up. The dough is cohesive enough to pick up carefully if shapes do not come up with your cutter, however, a flat spatula is a great help here! Again, this thin dough need not be pricked, but if serving plain, they do look prettier. If you plan to decorate, do not prick, the holes make the icing look rough.
Fingers: Roll dough into an oblong shape about ½ inch thick/pat dough into an oblong baking pan. Continue as for Petticoat Tails above.
Bake thin shortbread for about 30 minutes. Bake thick shortbread for about 45 minutes. It should be a pale golden color, feel firm when touched, and the sharp cut edges of biscuits are now attractively rounded. If your thick shortbread looks a slightly different color inside, and/or has a slightly different texture, put it back in the oven for 10-20 minutes at least.